ㅤ
Build your web application and publish new content automatically
In this post I will describe how I publish new content for my blog and how it’s deployed to Github pages where it is actually hosted.
Static Site Generators
This blog is powered by static site generator called Hugo which is quite popular and definitely one of the fastest among other generators. While at the first glance static site might look exactly the same as the traditional website like Wordpress for instance - There are huge differences between them from the backend perspective. First of all static sites don’t need database - all information is pre-rendered and then stored on disk. Usually all the website content is created in Markdown files, and then it is rendered to create all necessary files (html, javascript, css, etc.) using CLI provided by generator. Hugo allows to run web server on your localhost to see how your website is going to look like when it is deployed.
When to use static sites and why
of course there is many situations when you can’t use static sites - when there is a need to perform database transactions - for example you have stock exchange application that needs low latency read/write access to SQL database and must be ACID compliant. But if your website is focused on content rather than operations running in the backend then probably you can use static site, of course if you need additional functionality like background tasks then you can easily integrate your website with external services like AWS lambda/Azure functions. Static sites are much easier to deploy than traditional websites because you don’t need to worry about database, and quite often you don’t even need to take care of Webserver. All you need to do is to generate static files, keep them in git repository and setup CI/CD pipelines for automatic deployments. Static sites are also very secure by design since there is no database - some potential cyber attacks like SQL injection are simply not possible with static sites. Some of popular choices for hosting static sites are:
- Azure static site
- Github pages
- Netlify
- Amazon S3
- and many more…
CI/CD in (Github) action
I’m using Github pages for hosting as well as running CI/CD pipelines, GH pages has all the features you need in order to fully automate deployment process of your website. First you need to have git version control on your local machine or whenever you build your website. It must be synced with remote Github repo - which also has to be configured to run CI/CD pipelines, whenever you commit new changes to specific branch. In Github there is tab called ‘Actions’ - this is where you can create your deployment workflow
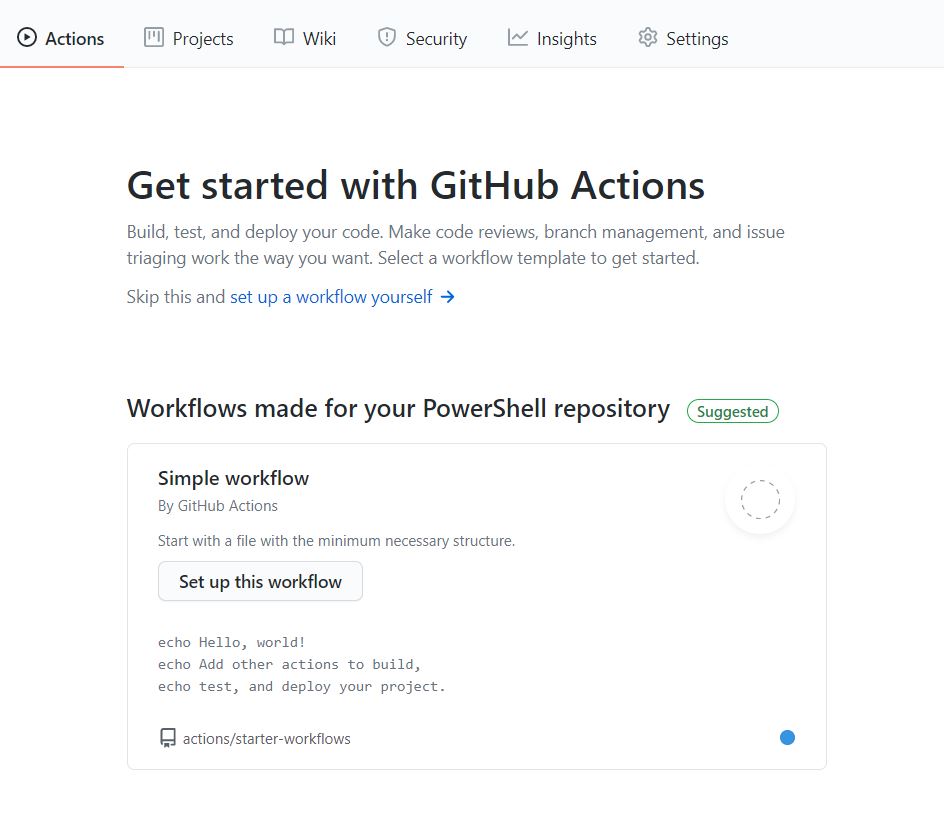
Github provides various Actions which are basically specific tasks which are being executed when invoking CI pipeline, for instance an action can install NodeJS or Setup Python virtual environment, you can see in depth implementation of various actions and what scripts are running behind the scenes, all actions are available in Marketplace.
My workflow contains 2 jobs and multiple steps:
name: hugo CI
on:
  push:
    branches: [ main ]

  # Allows you to run this workflow manually from the Actions tab
  workflow_dispatch:


jobs:
  build-and-deploy:
    runs-on: ubuntu-latest

    steps:
      - name: check repo content
        uses: actions/checkout@v2

      # setup hugo on worker
      - name: Setup Hugo
        uses: peaceiris/actions-hugo@v2
        with:
          hugo-version: '0.83.1'
          extended: true

      # run hugo build
      - name: Build
        run: hugo --minify

      # deploy
      - name: Deploy
        uses: peaceiris/actions-gh-pages@v3
        with:
          personal_token: ${{ secrets.PERSONAL_TOKEN }}
          external_repository: Krzysi3k/Krzysi3k.github.io
          publish_dir: ./public
          publish_branch: main

  #notify when site is successfully deployed
  notify:
    needs: build-and-deploy
    runs-on: ubuntu-latest

    steps:
      - name: send notification to Slack
        run: |
          d=`date -d "+2 hour" +"%H:%M:%S"`
          curl -X POST -H "Content-type: application/json" \
          -H "Authorization: Bearer $SLACK_TOKEN" \
          -d "{\"channel\": \"#blog\",\"text\": \"site deployed successfully at: $d\"}" \
          https://slack.com/api/chat.postMessage
        env:
          SLACK_TOKEN: ${{ secrets.SLACK_TOKEN }}
1. Job: build and deploy
- actions/checkout@v2 - this action basically make my repo code available to the worker that is running workflow.
- peaceiris/actions-hugo@v2 - this step installs Hugo generator with specific version
- hugo –minify - It builds website (creates ./public directory and places all static content in it.)
- peaceiris/actions-gh-pages@v3 - this action deploys website to the public repository (it must be configured to host static web page + you must provide TOKEN to authorize worker to deploy site.)
2. Job: notify
- send notification to Slack - Here is my custom bash script that sends notification to #blog channel in Slack. I have blog post about Slack API and how to send message programmatically to specific channel.
Keep your secrets secret!
It’s quite important not to expose your Tokens/Secrets to the outside world. Very often you need to authorize your applications/workflows in different APIs or repositories, so you want to make sure your Secrets are stored securely in your system.
Github provides storing secrets/tokens in a secure way, you can access them in action workflows by using special variable: ${{ secrets.YOUR_SECRET }}
(YOUR_SECRET - is the name of your secret variable defined in Github Settings => Developer Settings => Personal Access Token)
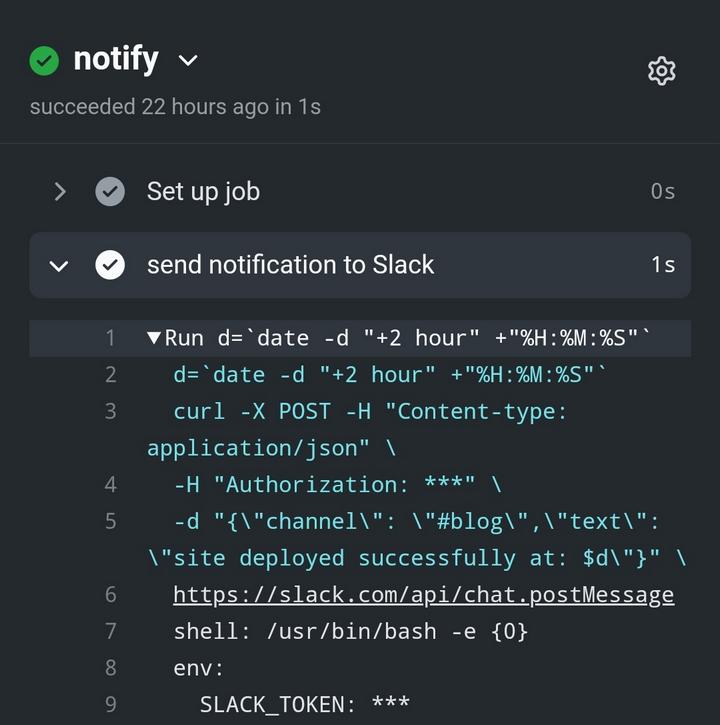
In workflow logs you won’t be able to see value of your secret/token in plain text. Instead you will see *** :
Let’s run workflow
you can invoke your pipelines manually if you have workflow_dispatch included in your yaml file, or if you change anything in your code for the branch that is configured as a trigger - it will run jobs automatically.
Key notes when designing workflow
- each job is running independent worker (behind the scenes it is a vm or container that runs the job)
- jobs are executed in parallel by default or in order when using option needs: job-name
- when jobs are executed in order the entire workflow execution time is increased as there is some short delay while spinning-up new worker
In my case I could use one job and it will work just fine, but I just want to showcase how to run dependent jobs.
Workflow can be triggered by pushing change to ‘main’ branch, using Github web page directly or by calling Github REST API
As you can see below entire workflow took 35 seconds, but billable time is only 11s. Here is good explanation how Github charges for workers utilization.
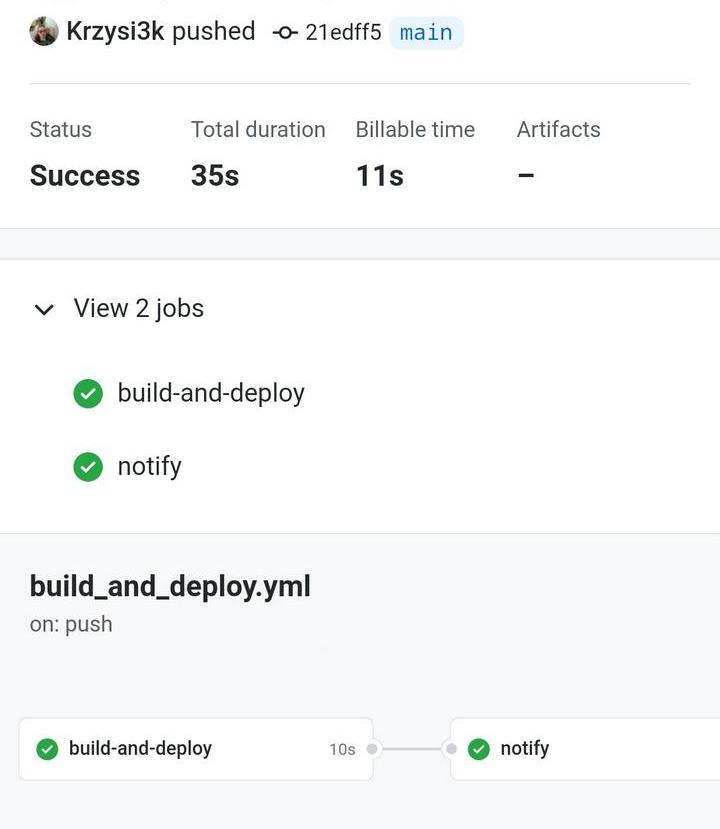
- build-and-deploy took 10s.
- notify took only 1s.
Workflow logs wil give you more granular overview where for example you can check how much time does it take for each individual step to complete execution:
build-and-deploy:
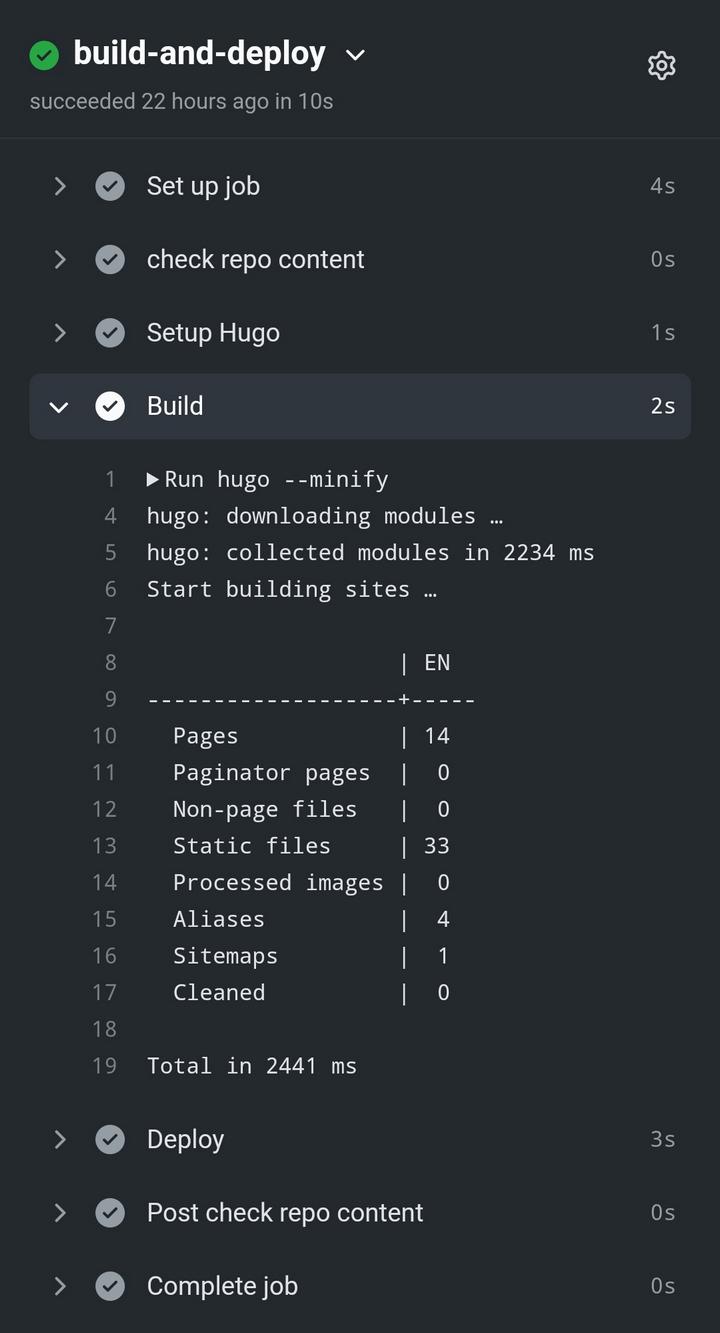
notify is being executed only if the build-and-deploy finishes successfully
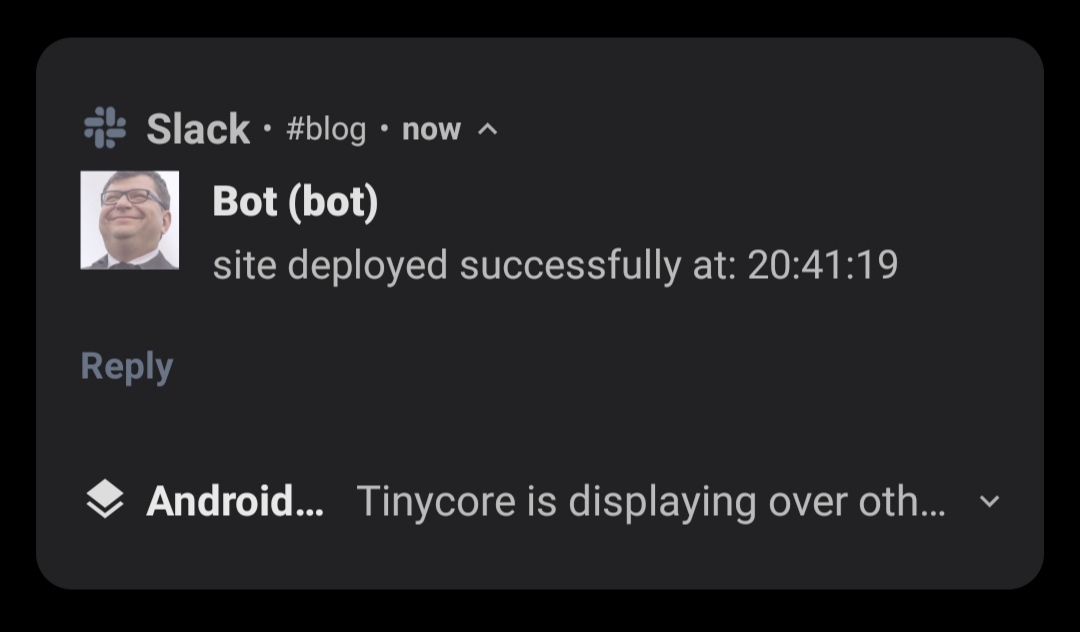
And here is received notification in Android Slack app:
